How to Make Your First Tutor
Welcome! This guide will help you make your own AI tutor on our website. If you are new, don't worry—just follow each step below. We'll go through everything together!
Step 1: Go to the Tutor Section
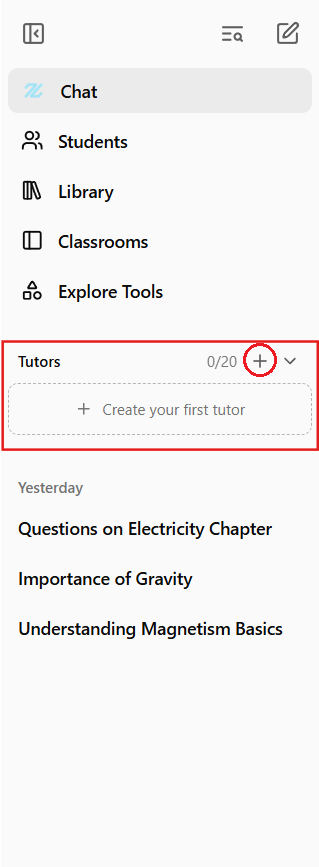
- Look at the left side of the website. This is called the sidebar.
- Find the button that says Create your first tutor. Click it. This will open the tutor setup page.
- If you have an existing tutor, you might not see the Create your first tutor option. Instead, you can click on the plus button to get the form.
Step 2: Add a New Tutor
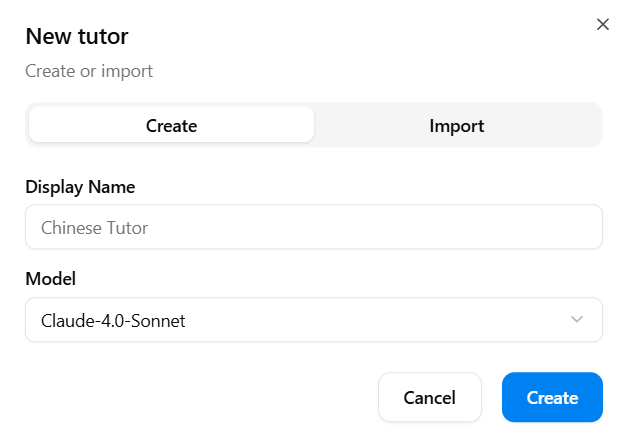
- On the tutor setup page, click the Add Tutor button.
- You will see a form to fill out.
- In the box that says Tutor Name, type a name for your tutor. (For example: "Math Buddy" or "Reading Helper")
- Next, you will see a list of models. These are the brains your tutor can use. Pick the one you want by clicking on it.
- When you are ready, click the Create button at the bottom.
- Wait a moment. Your tutor will be created!
Step 3: Import a Tutor (If You Have a Code)
- If someone gave you a special tutor code, you can use it to make a tutor quickly.
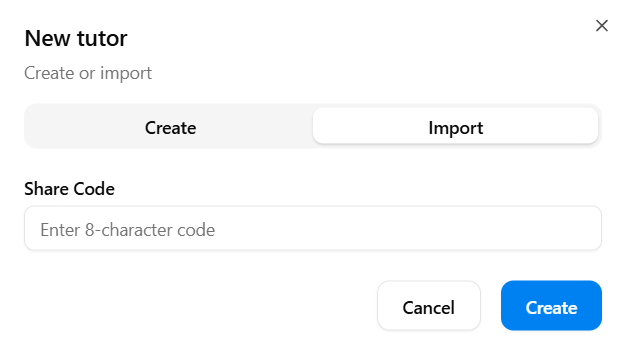
- On the tutor setup page, click the Import button instead of Add Tutor.
- A box will appear. Paste the code you got into the box.
- Click Import. Your tutor will be created using the code.
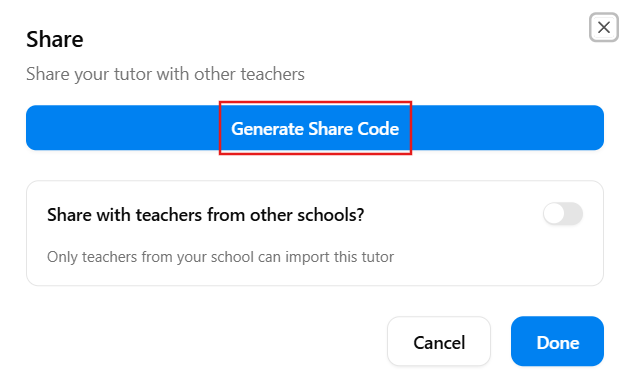
- The code can be found in the tutor panel share option. It can be shared with teachers from different schools as well (anyone with the code can import this tutor). To do that, just enable the Share with teachers from other schools? option.

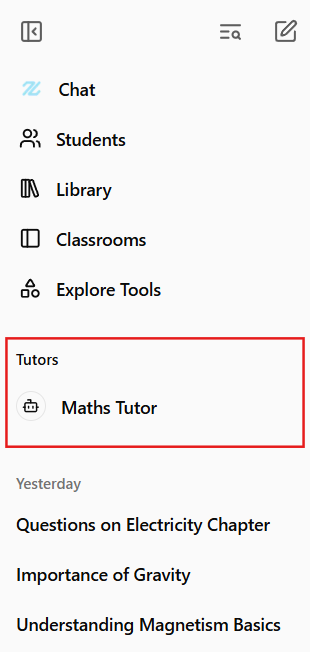
Step 4: See Your Tutor in the Sidebar
- After you create or import a tutor, look at the left sidebar again.
- You will see your tutor's name appear in the list.
- Click your tutor's name. This will open the Tutor Panel, where you can manage your tutor.
Step 5: Set Up Your Tutor in the Tutor Panel
- The Tutor Panel has different sections. Let's look at each one:
General Section
- Here, you can:
- Add a profile picture for your tutor by clicking the picture icon and uploading an image.
- Change your tutor's name if you want.
- Pick a different model if you want to try another brain.
- Write a system prompt. This is a special message that tells your tutor how to act. For example, you can write: "Always be friendly and helpful."
- Click on Advanced Settings if you want to change more details about how your tutor works. This is basically tuning the parameters of the selected model.
- Add files (like PDFs or Word documents) by clicking Add Files. Your tutor will learn from these files and use them to answer questions.

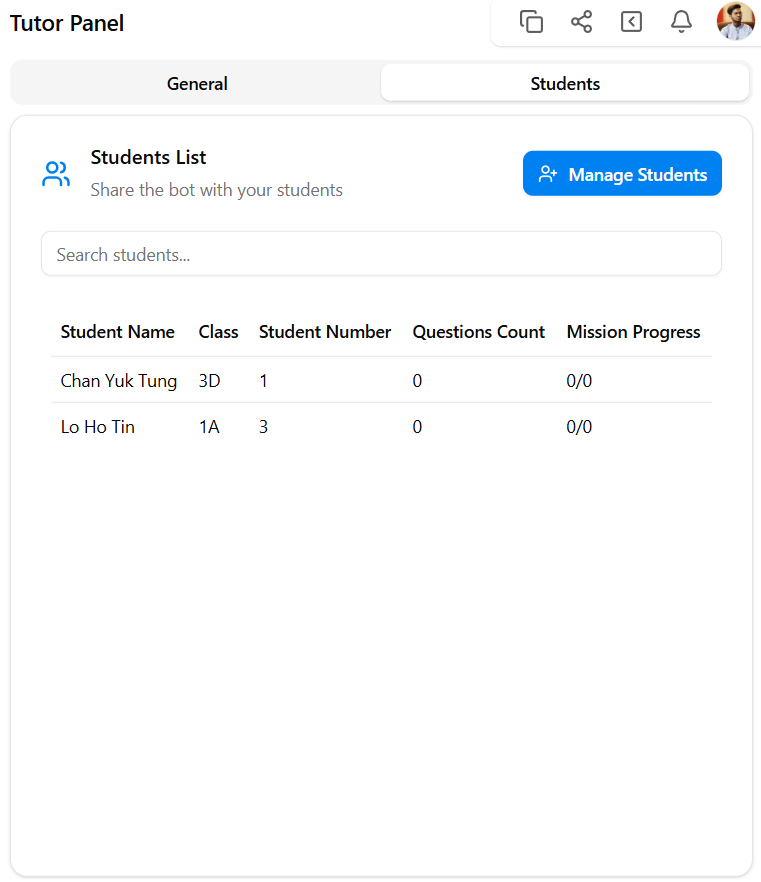
Students Section
- Next to General, you will see a tab called Students.
- Click this tab to see a list of students who use this tutor.
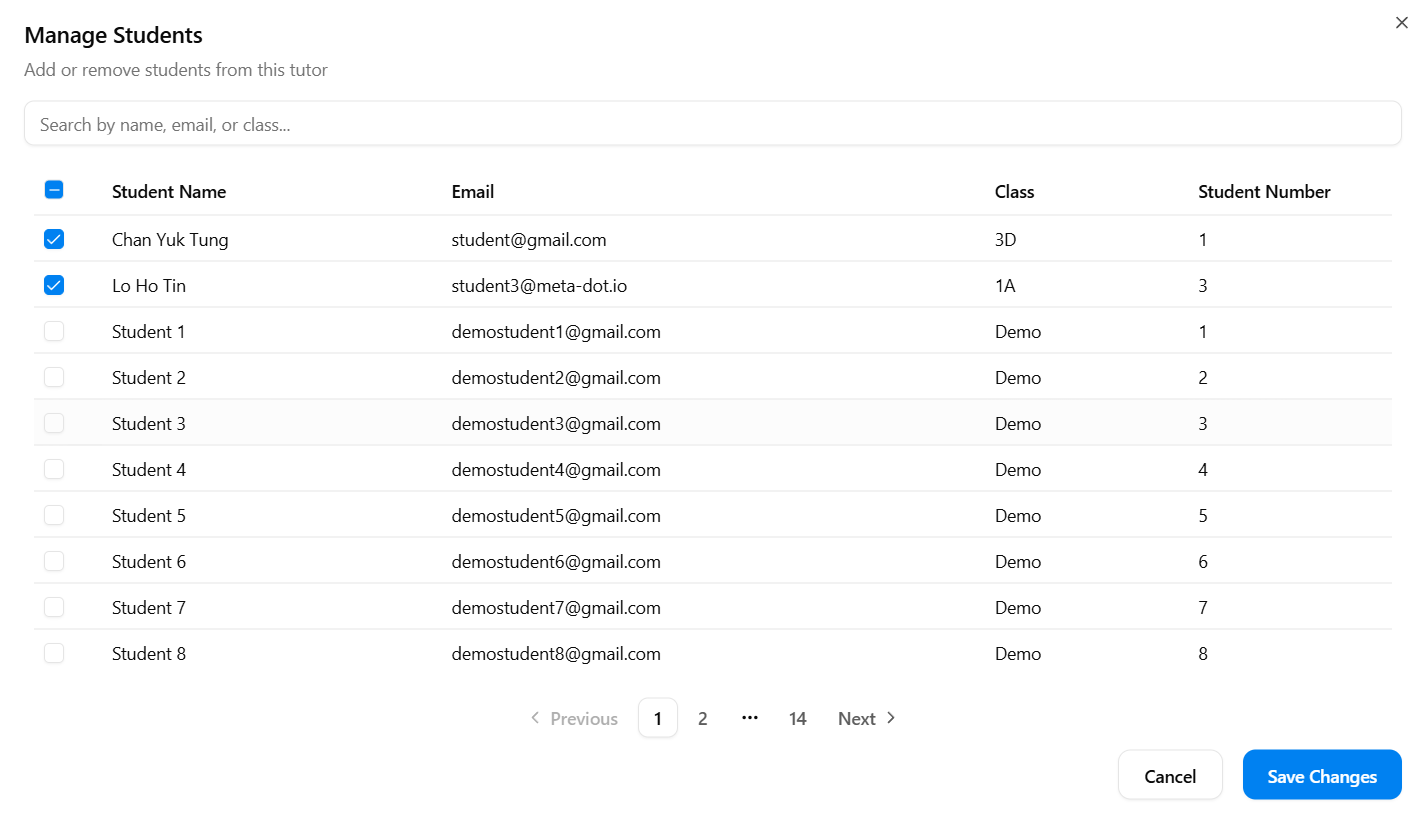
- To add more students, click Manage Students and follow the instructions.
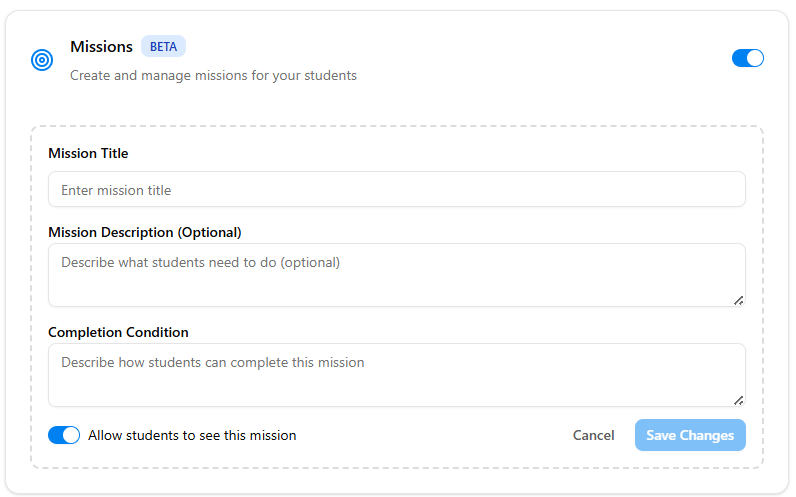
Creating Missions
- There is a section in the Students section where a tutor can create a mission and share with students by putting the name, description and completing criteria. The tutor can choose to not make it visible for students as well. In this way a tutor can better evaluate a student. The mission initially remain turned off. To create, turn it on and click Create a Mission.
Evaluation
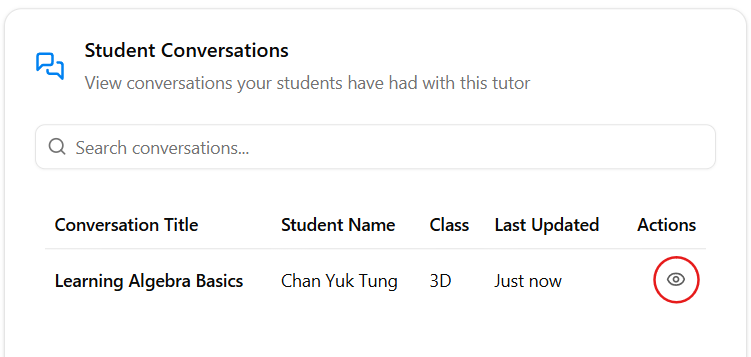
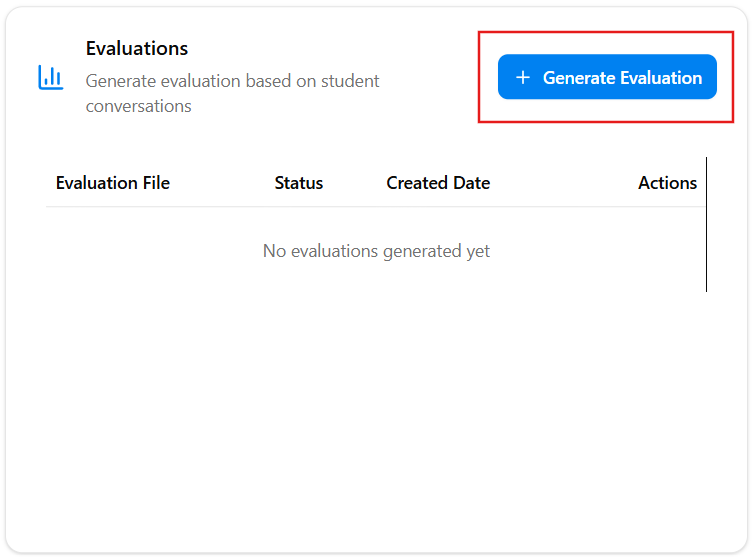
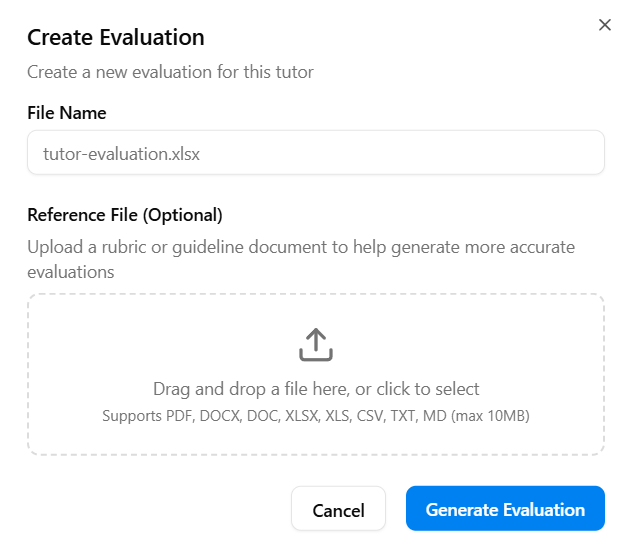
- A tutor can see the conversations and the questions asked to the Bot Tutor by a student(but not edit). Together with mission, this can provide a teacher better understanding the student and how curious he/she is. A tutor can also generate evaluation report based on the conversations they had with this Bot Tutor. For this reason, a tutor can upload an evaluation criteria to help generate a more accurate evaluation.
Explore and Customize
- You can always come back and change your tutor's name, picture, model, or settings.
- Try adding different files or changing the system prompt to see how your tutor changes.
- Don't be afraid to experiment—your tutor is here to help you and your students!
If you get stuck, look for help buttons or ask someone on your team. You're doing great!
Last updated: October 22, 2025